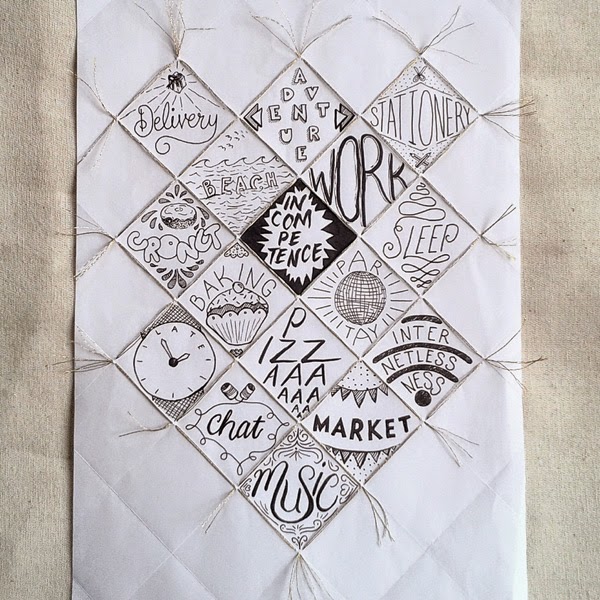
So I recently mentioned using a "quilted paper" look for last month's Instagram project and had some requests for a tutorial on how to do this. After Googling a bit I realised that I kinda made this up: I couldn't find any images for the paper look that I'd created, so "quilted paper" isn't really a thing! Until now, that is! Haha ;) Anyway, I tried to create a step-by-step photo tutorial below to help you recreate this look.
The main thing to keep in mind is that you're folding parallel diagonal lines. We do this on one side of the page and then repeat on the other side. When folding paper always remember to get points matching up as perfectly as possible, and make your folds as sharp as possible by going over them with your nail or any other clean blunt edge (a clean ruler edge, non-sharp edge of a craft knife, etc).
Take an A4 page and fold one corner in to meet the opposite paper edge to form a triangle shape. Open that out and do the same with the adjacent corner along the long edge.
Open it out again and refold the first fold. Fold the diagonal flat edge in towards the opposite corner til the centre fold marks are aligned and the new folded edge is aligned with the point of the original fold.
When you open that fold out you'll see a new diagonal line. Fold again according to the images below...
You can leave it plain white for a nice elegant look, or use coloured paper, or
stitch it, like I did for my Instagram project. Use it for an unusual look for gift wrap, table settings, greeting cards or anything else you can think of.


